公共场所wifi认证解决方案wifidog+authpuppy(2)
二、 配置服务器和插件管理
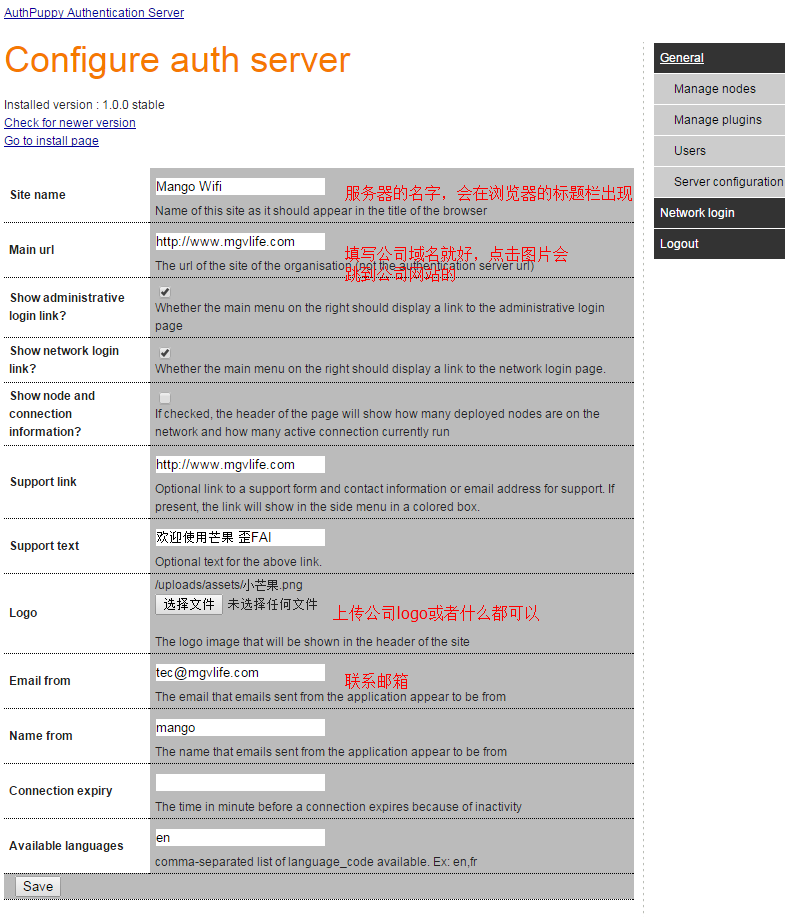
1、 访问http://localhost ,通过管理员账户登录,配置authserver
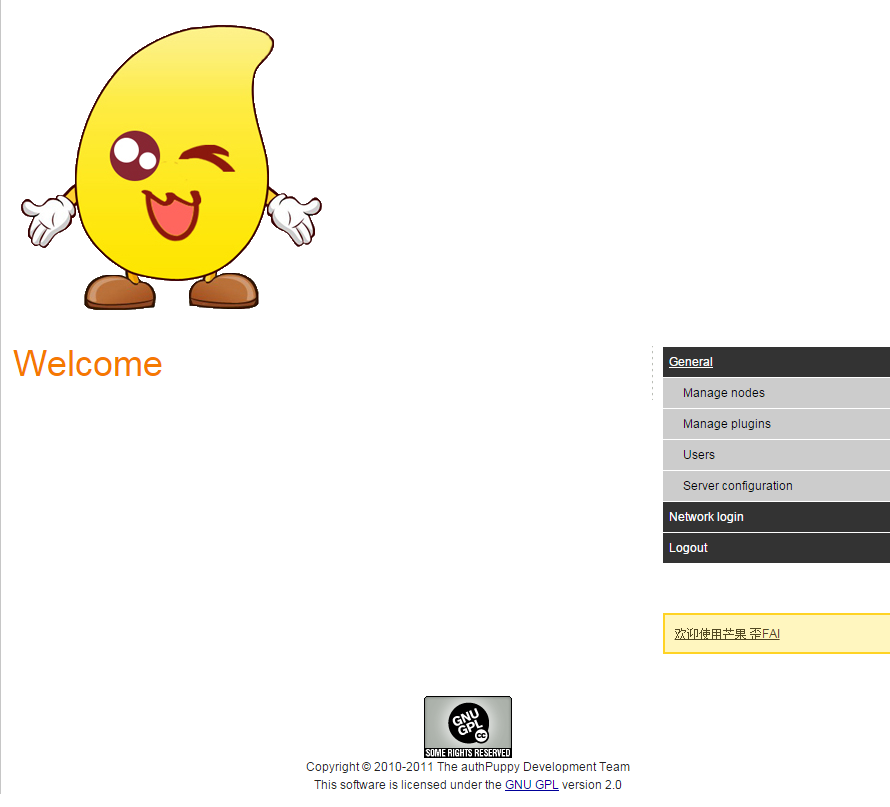
配置完成后再次访问http://localhost 就会出现如下界面
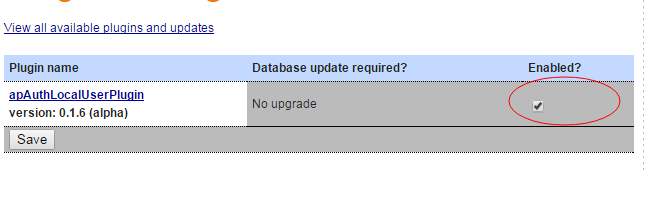
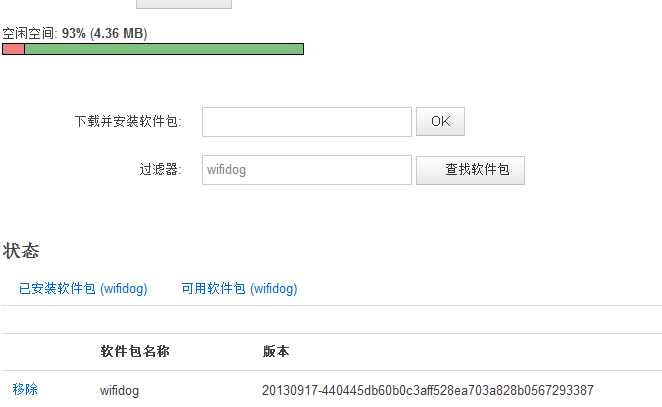
2、 点击Manageplugins,点击View all available plugins and updates添加插件,点击后发现无法跳转,原因应该是插件的网站被墙了,大家让服务器科学上网一下就可以了。
安装apAuthLocalUserPlugin这个插件,并启用,就可以对登录账号进行管理了,更多插件的使用可以自己慢慢摸索。
三、 配置网络结点和路由器认证
1、 访问http://localhost 以管理员身份登录,点击Managenodes进行结点的管理,服务器默认为我们创建了一个叫My first node的结点,我们对其进行编辑,修改Name :wifidog,gw id:123456,deployment status 选择Deployed
2、 配置路由器,路由器在编译openwrt固件的时候,makemenuconfig后,在Network–>Captive Portals中选择wifidog.这样在刷完固件后路由器就有wifidog插件了:
3、 通过命令行访问路由器,windows下可以使用putty登录,执行如下命令,启动wifidog
/etc/init.d/wifidogenable
/etc/init.d/wifidog start
此时会报错,因为此时还没配置好服务器的信息。
4、 编辑/etc/wifidog.conf,window用户如果不会用vi等编辑器,可以使用winscp软件访问并修改,需要配置的主要有三项:
#这个需要与服务器中gw id相对应
GatewayID 123456
#查看自己的路由器进行配置,外网接口
ExternalInterfaceeth0.2
#路由器内网接口
GatewayInterface br-lan
#服务器配置
AuthServer {
    #服务器的ip地址
    Hostname192.168.0.224
    SSLAvailable yes
    Path /
}
5、 重启wifidog,连接该无线网络,开始验证。
四、wifidog的认证需要https的,于是开始安装https服务
1、 安装ssl
sudo apt-get install apache2
複製代碼
2、 开启ssl
sudo a2enmod ssl
複製代碼
3、 重启apache
sudo service apache2 restart
複製代碼
4、 创建一个ssl目录
sudo mkdir /etc/apache2/ssl
複製代碼
5、 创建一个自己认证的证书
sudo openssl req -x509 -nodes -days 3650 -newkey rsa:2048 -keyout /etc/apache2/ssl/apache.key -out /etc/apache2/ssl/apache.crt
複製代碼
输入信息得到:/etc/apache2/ssl/apache.key
7、 配置证书
sudo gedit /etc/apache2/sites-available/default-ssl.conf
複製代碼
8、 在ServerAdmin下添加一行,服务器域名或者ip地址
ServerName 127.0.1.1:443
ServerAlias authpuppy.test<span style="line-height: 1.5; background-color: rgb(255, 255, 255);">                          </span>
複製代碼
并修改如下内容:
SSLEngine on
SSLCertificateFile /etc/apache2/ssl/apache.crt
SSLCertificateKeyFile /etc/apache2/ssl/apache.key
複製代碼
9、 开启ssl并重启apache
sudo a2ensite default-ssl
sudo service apache2 reload
複製代碼
10、 此时访问https://localhost 可以访问,但是localhost下的其他路径时404错误
修改/etc/apache2/sites-enabled/default-ssl.conf 添加443虚拟目录
<VirtualHost *:443>
        DocumentRoot /var/www/html/authpuppy/web
        ServerName authpuppy.localhost
        SSLEngine on
        SSLCertificateFile /etc/apache2/ssl/apache.crt
        SSLCertificateKeyFile /etc/apache2/ssl/apache.key

        DocumentRoot /var/www/html/authpuppy/web
        DirectoryIndex index.php
        <Directory /var/www/html/authpuppy/web/>
               Options Indexes FollowSymLinks MultiViews
               AllowOverride All
               Order allow,deny
               allow from all
        </Directory>
</VirtualHost>
本文章由 http://www.wifidog.pro/2015/02/26/wifidog-authpuppy%E5%AE%89%E8%A3%85-2.html整理编辑,转载请注明出处